Secure digital certificates for the IASME schemes
IASME issues approximately 700 certificates a week to organisations of all sizes. These certificates demonstrate a business’s compliance and commitment to a recognised standard of cyber security or fraud prevention. They are a badge of honour, if you like, and signal trustworthiness to customers, stakeholders and insurance companies.
Page Contents
1: Introduction to BlockMark Registry
1.1 What is BlockMark?
1.2 Why do we need it?
1.3 How do we use it?
2: BlockMark Process
2.1 Receiving notification
2.2 Setting up an account
2.3 Viewing my certificate
2.4 Renewing your BlockMark Certificate
3: BlockMark Account Management
3.1 Adding users to an account
3.2 Changing account ownership
3.3 Downloading the certificate as a PDF
3.4 Embedding the badge or logos as code
3.5 Embedding the badge or logos in email
4: More info
4.1 FAQs
4.2 How to ask for more help
Section 1
Introduction to BlockMark Registry
1.1 What is BlockMark?
BlockMark Registry is a platform developed and operated by BlockMark Technologies Ltd, that allows companies (like IASME) to issue certificates that are verifiable. The web application uses a cloud-based database and is a useful tool for those who issue certificates, the people or organisations that receive certificates, and those that need to verify them.
1.2 Why do we need it?
The problems:
Where are my certificates?
If you work for a company, or run one, you will know that you are constantly renewing and keeping tabs on your certificates, ensuring compliance, insurance and best practice. Where are all of these certificates at any one time, and who is in charge of them? How do you control a certification process that needs annual renewal?
Is this certificate genuine?
Certificates are widely faked, including fraudulent degree certificates, bogus safety certificates, and scam insurance policies. Sometimes criminal organisations create and sell fake credentials to unsuspecting clients, and sometimes holders of certificates generate their own versions – either from scratch, or they tamper with the information to extend validity, or change the scope. For example, as the Cyber Essentials scheme grows and is more frequently required for tenders, there is an incentive to produce fake certificates or to edit the expiry date on an existing certificate. We have started to see some cases of this, and if left unchecked, it could undermine the trustworthiness of the certification badge.
How do we update the badges when they change?
A certification badge may change due to a style update, or for an accessibility reason. It is difficult for the certifier to ask all the certified organisations to update their certification badge, and a nuisance for all the certified organisations to update the badge on their website and emails.
The solution:
To address these issues, IASME partners with BlockMark Technologies to deliver and verify digital certifications. BlockMark provides software systems to manage processes around certification, accreditation, and protecting intellectual property; their flagship project BlockMark Registry is a platform that allows the secure management and verification of certificates.
Once you have created a Blockmark account, as either an individual or an organisation, all of your certificates will appear on one dashboard where you can manage them digitally. You are able to download and embed a short piece of code that represent each certification badge onto your website, and email footer. These digital badges link directly to your digital certificate and can be verified in a second.
If the badge is updated by the scheme owner, any versions of it on your website or email footers will automatically update to this latest version.
1.3 How do we use it?
BlockMark Registry is a platform which can be used in three different ways:
Issuing digital certificates
- If you were to log onto the BlockMark Registry platform as an issuer of certificates, you would find a section on your dashboard where you could create a template for a certification scheme. You would then be able to issue certificates from that scheme, sending out a customisable email to the recipient to inform them that they have a certificate and can view it or print it off.
Receiving digital certificates
- As a recipient of a certificate, the digital version of your certificate is viewable on screen, and the logo or badge representing that certificate can be shown on a website or email footer. It is also still possible to save a pdf version or print out a physical version of the certificate if needed.
- The BlockMark Registry platform allows an individual and/or an organisation to control all of their certifications from one dashboard, and to keep an eye on when an item is expiring or needs action. The dashboard will also record which certificates you have viewed or ‘inspected’ of other organisations, for example, those in your supply chain. This helps with your own due diligence and compliance, helping you to check on their renewals as well.
Verifying digital certificates
- The big difference with the digital certificate and badge, is that in the past it has been in the form of a jpeg or png, which can be cut and pasted onto a website and may indeed have stayed on a website long after it has expired. The BlockMark certification mark, however, is downloaded as a short piece of code which can be embedded in your website or email footer. Each time the certificate or logo is viewed online, the code retrieves the information from BlockMark’s platform in real time and the logo is refreshed for as long as it’s valid. If you were to hover your cursor over a BlockMark badge, information pops up giving details about who it’s issued to and by whom, with the issue and expiry date. If you click on it, you are taken to the full digital certificate on BlockMark and can view more detailed information about that certificate, the recipient, the scheme, the scope and the issuer.
By using BlockMark Registry, IASME ensures that its certificates and badges are secure, transparent and verifiable.
Section 2
The BlockMark process
From passing an assessment to receiving your certificate
2.1 Receiving notification
Once you have passed your IASME certification assessment, you will receive two emails, both from [email protected] address. It
is the second email that gives you instructions to get your certificate.
- The first email is a notification from the assessment platform, Pervade, that you have passed.
- The second email is a notification from BlockMark . The email will invite you to click a box that says, “OPEN AND SHARE YOUR CERTIFICATE”. You will then be prompted to confirm whether or not you already have a BlockMark account . Select YES or NO. If you do not already have an account, you will be given instructions on how to set one up.
2.2 Setting up an account
IMPORTANT
If you are setting up an account for the first time, please note: Once you have filled in the details for setting up your user account, you press ‘Next’ and will be asked whether you wish to connect your account to your Organisation Account. You must press ‘Yes’ at this point. If you don’t press ‘yes’, you will not get access to your certificates, and this will require help from IASME to resolve.
Continue by setting up your Organisation Account details.
The company name can be edited if needed (if it doesn’t match Companies House exactly, for example), whereas the Number, Type, and Country can’t be changed by the user. If any of these details need changing, please contact IASME or BlockMark Technologies directly.
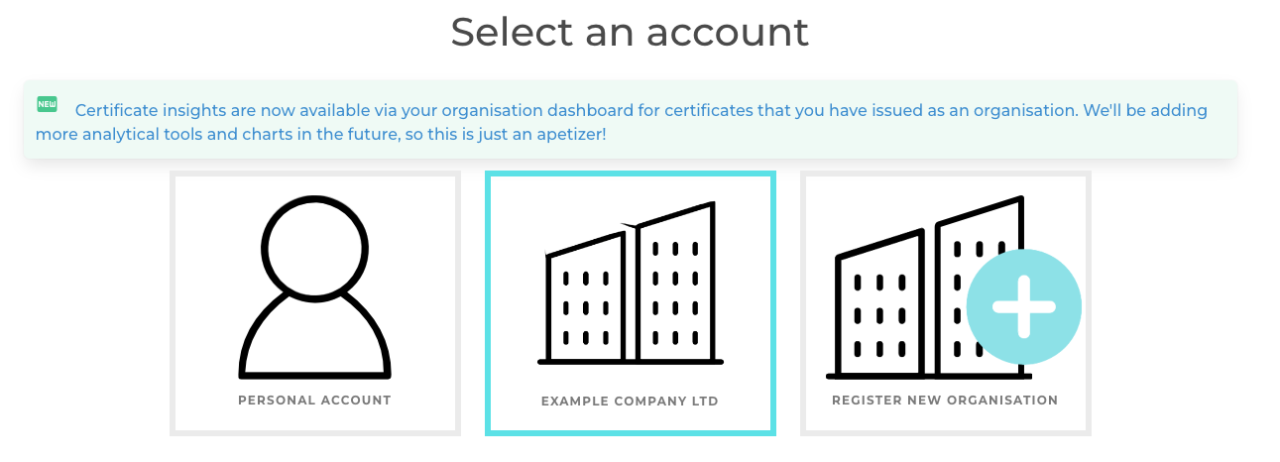
Select ‘Setup Organisation’ button at the bottom and you will be taken to your company dashboard.
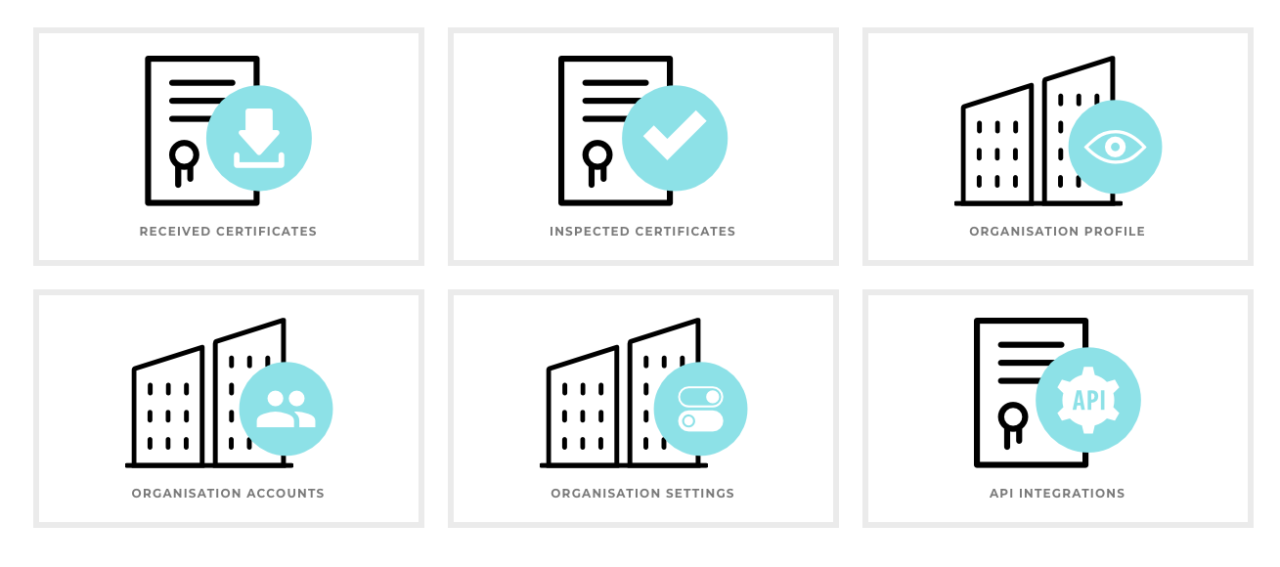
- Received Certificates – will bring up all certificates issued to this organisation.
- Inspected Certificates – will show any certificates that you or your staff have inspected externally (e.g. to maintain a record of your own due diligence of customers or suppliers).
- Organisation Profile – an alternative view of the organisation’s certificates. This allows you to see how your certificates would appear externally.
- Organisation Accounts – a list of all users who have an account which can access this Organisation Account (this will normally be the employees who have been granted access – more on this later).
- Organisation Settings – Allows editing of various account details, including the company name (if this needs to be edited slightly to match the name on Companies House or the certificate).
- Other buttons – You may also see other buttons on your dashboard relating to Issue New Certificates, Issued Certificates and Certificate Insights. These are used if you have your own certification schemes that you’d like to issue certificates from (for example, if you also offer training, accreditation, membership, etc.)
2.4 Renewing your BlockMark Certificate
The current IASME certification renewal process involves issuing a new certification number. This means that a renewal is effectively treated as a new certification. You will not need to set up a new account on BlockMark Registry, as the new/renewed certificate should connect to your previous account if the same organisation type and number has been used. However, as embed codes are linked to individual certificates, when your current badge expires and disappears, renewing your certificate will not make it come back automatically. You will need to get the embed code from your new certificate and embed it in your email footer or website as a replacement.
In the future, we hope to change the renewal process to allow embedded badges to renew automatically.
Section 3
BlockMark Account Management
3.1 Adding Users to an Account
An Organisation Account will have an admin – this is usually the user that first sets up the account BUT this ownership can be changed. The admin person can invite people (other colleagues) to the Organisation Account which will let multiple people access the certificate.
In order to add another user to the account, the admin would go to the Organisation Accounts page on their dashboard, (mentioned above). This takes them to the following page:

At the beginning, only one account will be listed, and they will be starred as the Account Owner. In order to add another user, simply click on the button, ‘Add new user’.
Fill in the email address of the user/employee you wish to add and click, ‘invite’.
The invitee receives an email inviting them to the account – they simply click the link in the email and follow the steps.
The admin user can see the status of all invited users, and can remove or edit them as needed using the Manage button on the far right:

3.2 Changing Account Ownership
If needed, account ownership can be changed. Perhaps a managed service provider has set up the account on behalf of the client, or if the company needs a different employee to be in control.
To do this, go to the Organisation Accounts page and select ‘Manage’ by the user you would like to transfer ownership to, and press ‘Transfer Ownership’:

3.3 Downloading the Certificate as a PDF
There will be a pdf copy of the certificate attached to the original BlockMark email. Additionally, you can download a pdf of your certificate from your BlockMark account.
From the organisation dashboard, select ‘Received Certificates’ to bring up a list of all certificates issued to the company. You can switch between a Card View and a Table View using this icon on the right, so you can choose which view you prefer:

To access the certificate, from the Card View you can simply click anywhere on the ‘Card’. From the Table View, you would click on ‘View’ at the far right of the entry:

This will give information such as issue and expiry dates, name of the Assessor and Certification Body, the scope that was included in the assessment, and the certificate number:
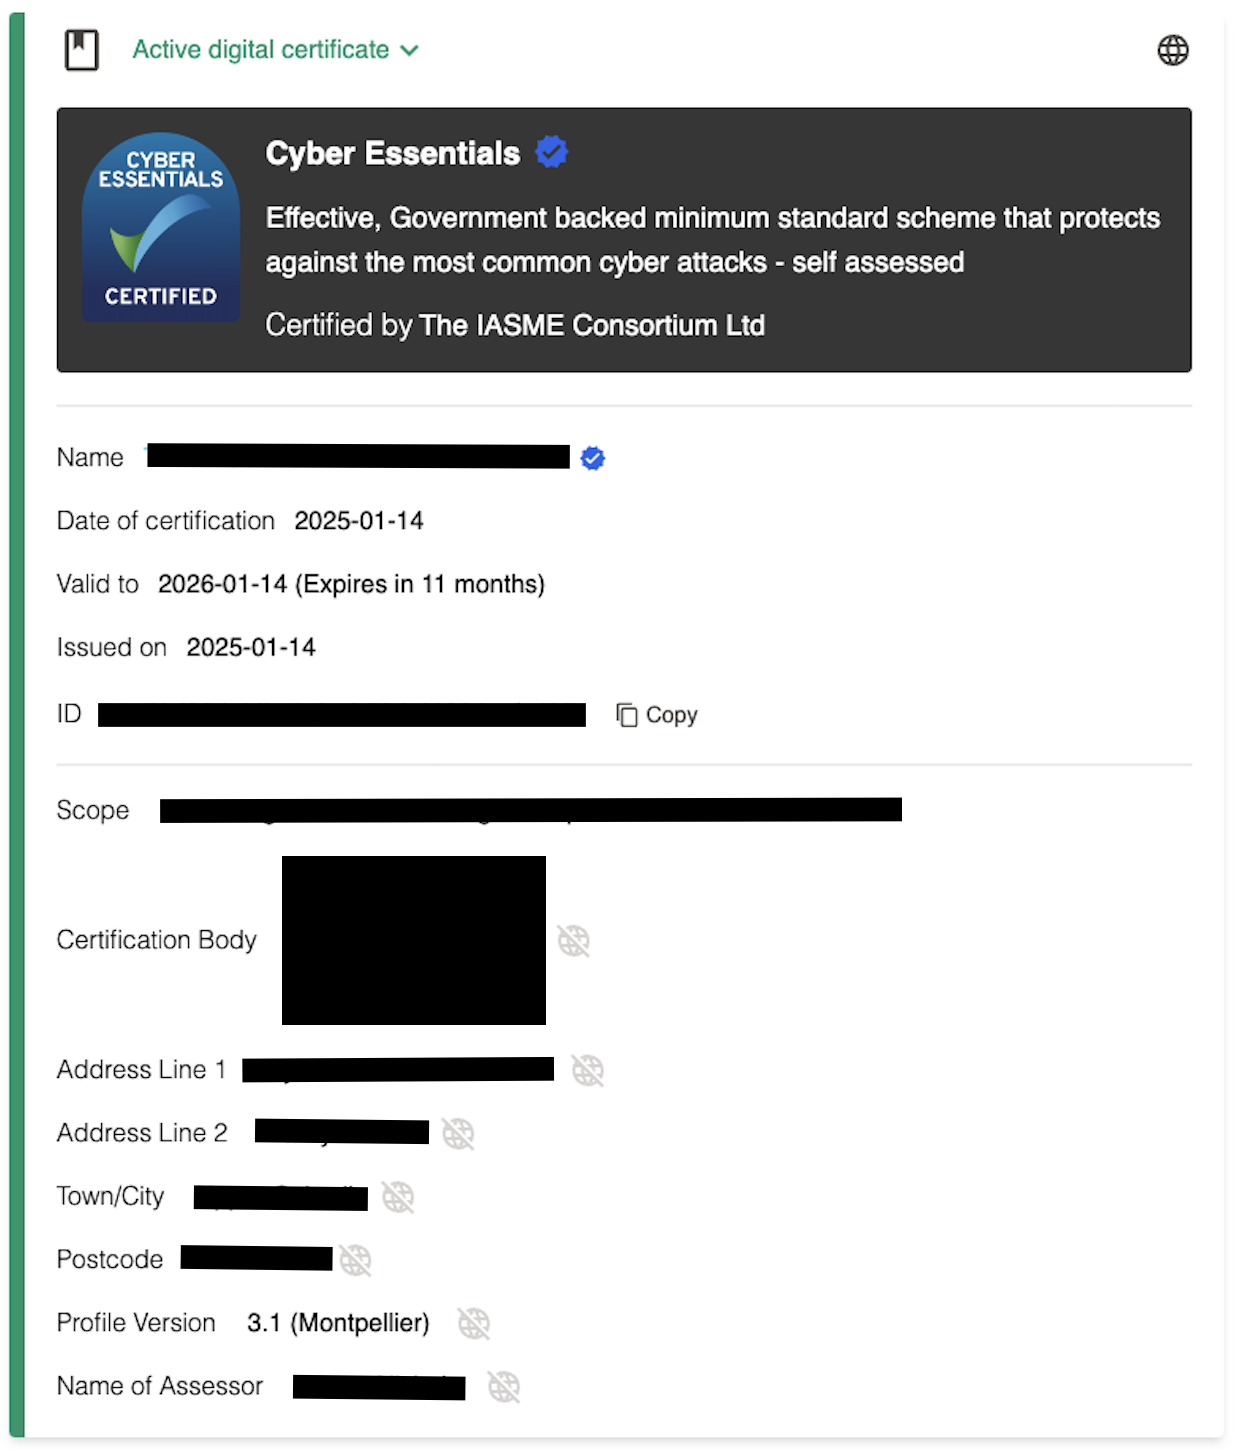
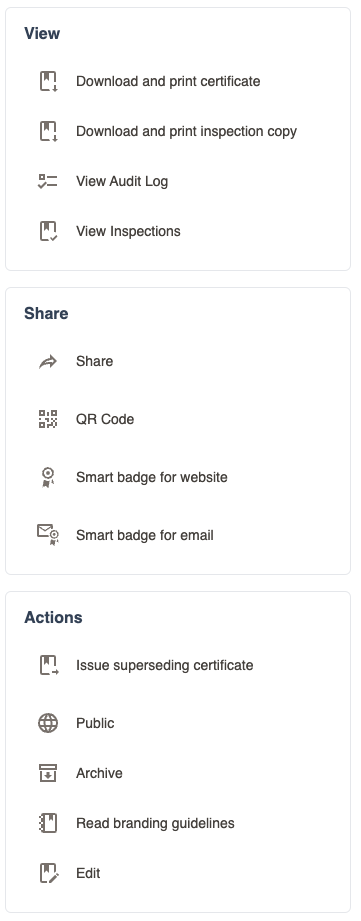
To the right of this are a variety of options:
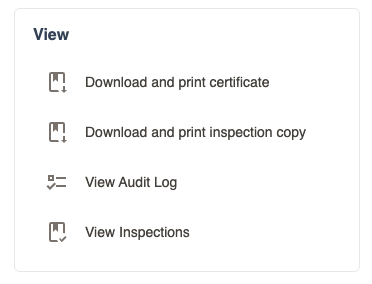
If you choose ‘Download and Print Certificate’ in the View section at the top, you will receive a pdf copy of the certificate. You can also choose ‘Download and Print Inspection Copy’ if you are required to provide the certificate as evidence of certification and don’t wish to send the original.
3.4 Embedding the Badge or Logo as code
Rather than a physical file that can be pasted into a website/email footer, the badge received from Blockmark is a code that can be embedded. The code is connected to your BlockMark certificate. This means that the design can be kept up-to-date automatically (if the design is changed on BlockMark, then it will also change everywhere it has been embedded), and if it expires, it will automatically disappear from wherever it is embedded.

In the central Share window, choose either ‘Smart badge for website’ or ‘Smart badge for email’. This will bring up an area like in the screenshot (‘Smart badge for website’) below:
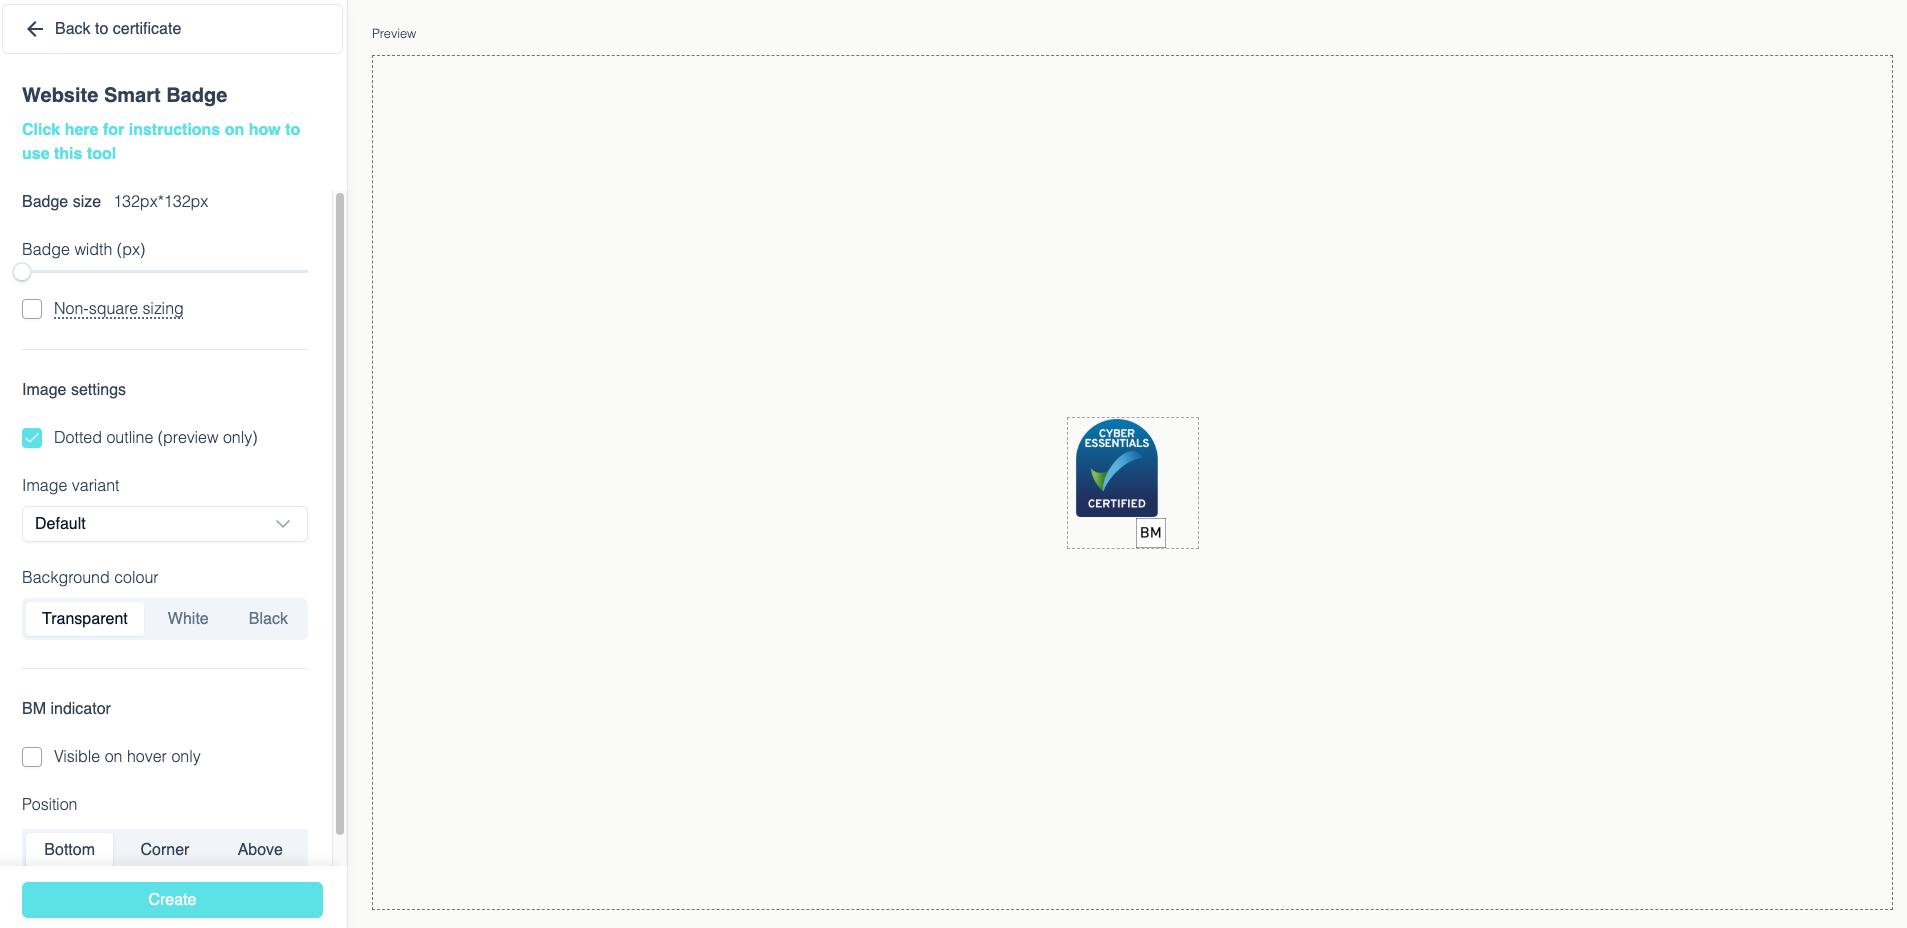
At the bottom of the screen is a Create button – when you select this, you will be provided with the embed code. This code alters depending upon the Controls chosen in the menu at the left. The image of the badge will also change when the Controls are altered in order to give a preview of what will appear. (For an explanation of the Controls -see below.)
The instructions for using the code are included in the BlockMark control panel on your account ( see screen shot above)
Here are some more detailed instructions for using the code
Please note, for these instructions, you will need to go to the administrator part of the web development page on your website. If you have a web developer, you will need to ask them to do this.
- Copy the HTML code for your badge.
- Go to your website’s content management system (CMS), navigate to the page that you want the badge on and access the HTML viewer.
- Paste the HTML into the source code of your page.
- The image will fill the container it is given.
- You can adjust the size of the image by changing the width and height of the iframe.
- Hover over the BM logo to read the popup that contains details about the certificate. You may have to adjust the embed size so the tooltip (or BM square) is not obscured.
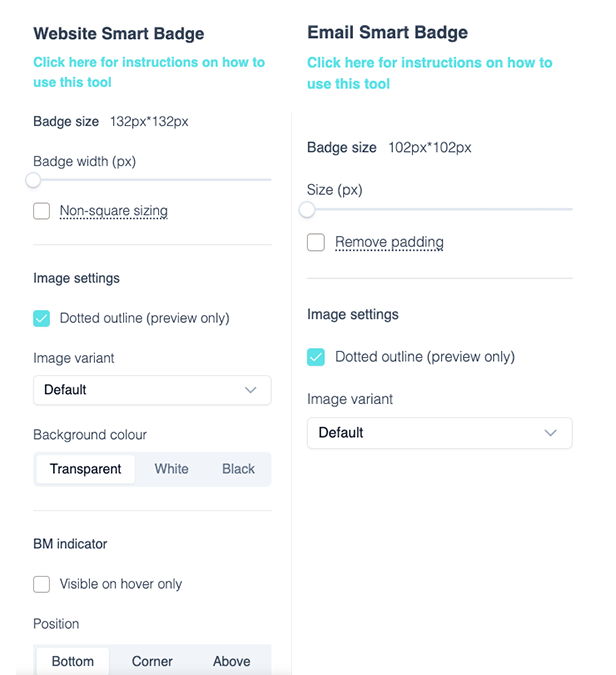
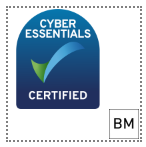
Dotted outline (preview only) – removes the dotted outline from the logo preview in BlockMark. The outline is only there for the preview, and won’t be visible when embedded, regardless of the setting chosen:
Dotted outline (preview only) – removes the dotted outline from the logo preview in BlockMark. The outline is only there for the preview, and won’t be visible when embedded, regardless of the setting chosen:
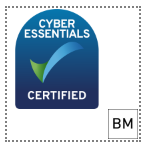
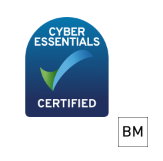
Non Square Sizing/No padding – when ticked, this removes the invisible padding around the badge, effectively making the whole image take less space. However, if the badge were to be updated at some point, this may cause formatting issues for already-embedded badges:
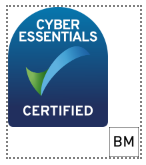
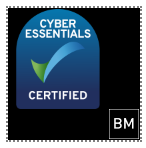
Background Colour (white, black or transparent) – this changes the background to have either a light or dark or transparent background.

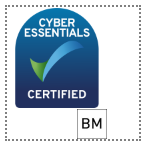
BM Indicator – changes whether the BM icon is always visible, or only shows when you hover over it:

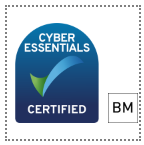
Bottom/Corner/Above – indicates where the BM will appear:


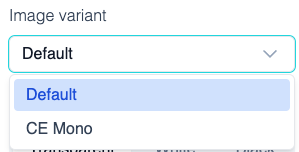
White/Mono VersionsSome of the badges are also available in White or Mono versions, and these can be chosen in the Controls menu mentioned above.
If a badge is available in those version, it will be listed in the Image dropdown:
3.5 Embedding the Email Badge
There are a different ways that a user can access their emails. Some users will access their emails via a webmail portal like Yahoo! or Hotmail, but most users will use an email application.
An email application is an application that allows users to send, receive and read their emails as well as configure the settings associated with their emails. An email application can also be configured to interact with many email providers.
Users can utilise email applications that are installed as part of the package with their Operating System such as Apple’s Mail App or Window’s Mail App, or they might use an application that they can download as part of a cloud service for example MS365 using Outlook (which can also be downloaded as part of a standalone package called Microsoft Office) or Google’s Gmail.
You should be able to determine what application you are using, by opening the email application that you use day-to-day and navigate to the settings.
Examples of how to embed the code in common applications can be seen below:
Apple Mac Mail
If you are using Apple Mac’s Mail, you should follow the steps below:
1 – Open mail application and select preferences which can be found under the ‘Mail’ menu next to the Apple sign in the top left corner.
2 – Select signatures and then choose the account that you would like to edit the signature for.
3 – Ensure the ‘Always match my default message font’ box (bottom right corner) is unticked.
4 – In the middle box choose the signature that you would like to edit.
5 – In the right hand box paste the code from retrieved from the Blockmark ‘Email embed’ tab.
Please note:
From the Blockmark Email embed tab it is important to click the ‘Copy’ button and not highlight the code and copy and paste.
In the signature preview box on the Apple Mail app (right hand box) you will only see a box as a placeholder of where the logo will sit.
Create and use email signatures in Mail on Mac
Microsoft Outlook
Create a new signature file in Outlook with a name like ‘newsig’ by following the vendor instructions depending on which version of outlook you are using. The vendor instructions can be found at the following link:
Create and add an email signature in Outlook.com – Microsoft Support
When you create the new signature a file will be created in the following location on your machine:
C:\\Users\\{YOUR USERNAME}\\AppData\\Roaming\\Microsoft\\Signatures
Using File Explorer on Windows, navigate to the path above where you will see the file you created in step 1 (newsig). Open it with Notepad, by right clicking on the file > select ‘open with’> select ‘Notepad’.
- Delete all the text that is in it by default,and then simply paste the html email embed code that you can copy from the Blockmark ’email embed’ tab.
- Save the file and when you now create a new message in Outlook with this signature, it should display the badge.
- If required, you can edit the signature with any other text and customisation as normal by following Microsoft’s instructions in the following article.
Section 4
4.1 Frequently Asked Questions
What Company Name / Address should I use?
Please provide the full registered name and address of the company being certified, as shown in your Companies House registration, if applicable. Company names are limited to 150 characters and should avoid the use of non-standard characters.
How will I receive my certificate?
When a certificate is issued, an email will be sent to your email address associated with your assessment account, from BlockMark Registry. If you do not already hold a BlockMark account, you will be provided with a link to create an account to access your digital certificate and badge – however, a PDF certificate will also be attached to the email.
How can I use my badge on my website and other literature?
You can use the link in the email received to create a BlockMark account that will allow you to access and download your digital badge and certificate. You will be able to embed your badge in your email and website footers, by selecting ‘website embed’ and ‘email embed’ functions, and following the instructions on the site to copy the code provided.
If you wish to display the badge on other marketing literature, please contact our Marketing Team at [email protected] for assistance
Can I amend the logo?
The logo can be amended by selecting the ‘controls’ in the ‘website embed’ and ‘email embed’ sections, once an account has been created in BlockMark.
Can I amend my certificate name or address?
If you have moved premises and your IT Infrastructure has changed you will not be able to change your certificate. For further enquires please contact the Customer Services Team at [email protected]. There will be an additional charge for amending a certificate.
I have submitted my assessment and my Certification Body have said that it has certified, yet I have not received any notification or a certificate.
When a certificate is issued, an email will be sent to the email address associated with your assessment account, from the BlockMark Registry. If you do not already hold a BlockMark account, you will be provided with a link to create an account to access your digital certificate and badge, however a PDF certificate will be attached to the email.
Please check your junk/spam, or your quarantined items folders if you have not received this email.
Once you have created an account, you will be able to download a digital copy of your certificate and add a badge to your email footers and website by following the instructions in the ‘website embed’ and ‘email embed’ sections.
The person in your company who has received the email, can click on the link to create an account in BlockMark Registry for your organisation. They can then invite other people in your organisation, who you would like to have access to your certificate and badge. It is good practice to have more than one person who can access the account, in case the person who opened the account is not available at a later date.
I have created a BlockMark account for my organisation, and my account says that it is limited. What does this mean?
Your account may say it is limited if you are a member of an organisation that has already been set up. The ‘owner’ (or person that set up the account) of the organisations will receive a notification and will need to accept you.
Our organisation has tried to add our badge to LinkedIn, however, we can only add it to a personal account.
Currently, there is a limitation with LinkedIn and organisation pages will only display posts and not certificates or badges. BlockMark is currently looking into this, and we hope there may be a workable solution in due course.
My badge has disappeared from my emails and website.
When your certification expires, the associated badge will also expire and will be automatically removed from your email footer and website. You can renew your certificate and badge by making an application for a new assessment via our website or contacting your Certification Body.
If the certificate has not expired and the badge has disappeared, please contact IASME Customer Services on [email protected].
Can we amend certificates and is there a fee?
The ability to have a certificate amended depends on the nature of the amendment requested. For example, an amendment to the scope of a certificate will usually mean a new assessment is required and therefore a certificate cannot be changed.
Please contact our Customer Services Team at [email protected] for further advice on your enquiry,
Currently, the fee for amending certificates is as follows;
Price per company certificate name/address change – £65.00
- This includes up to 5 additional certificates with different Trading As/subsidiary names (if applicable)
- If 6 or more different certificates are required, additional certificates with Trading As/subsidiary names will be charged at £20 each
- Price per correction of simple error on a certificate – £30.00
4.2 Need further help?
Please contact the Customer Services Team at [email protected] explaining any issue you are experiencing and we will endeavour to assist you with any queries.

